Now It Is The Time To Do Your Own Pills-Organizer!
Here you can find all the necessary instructions, schemes and documents you need to construct a pills-organizer, to link it to your Android and to use it.
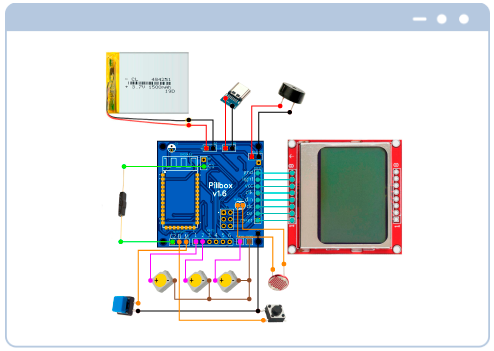
Assembling diagram
Here you can find all the necessary instructions, schemes and documents you need to construct a pills-organizer, to link it to your Android and to use it.
The assembly consists of two main steps:
We have prepared STL files for easy body printing. Here you will also find project files in STEP format, which you can use as a basis for creating your own unique body design. After all, 3D printing provides tremendous opportunities for this. You can develop and create your own unique body, or change the size of the cells in the basic design. To do this, we made it so that you could easily change the internal layout cells.
The body consists of four parts:
We expect that you will use any PLA plastic and a nozzle with a diameter of 0.4 mm to print the case from STL files. To print the case in our video, we used Eryone plastic. https://www.amazon.de/gp/product/B07KF3HGV2/ref=ppx_yo_dt_b_asin_image_o08_s00?ie=UTF8&psc=1
After printing, the body must be cleaned of supports and plastic beads should be cut off. You can also varnish the cover and body and polish them to give them look more aesthetic.
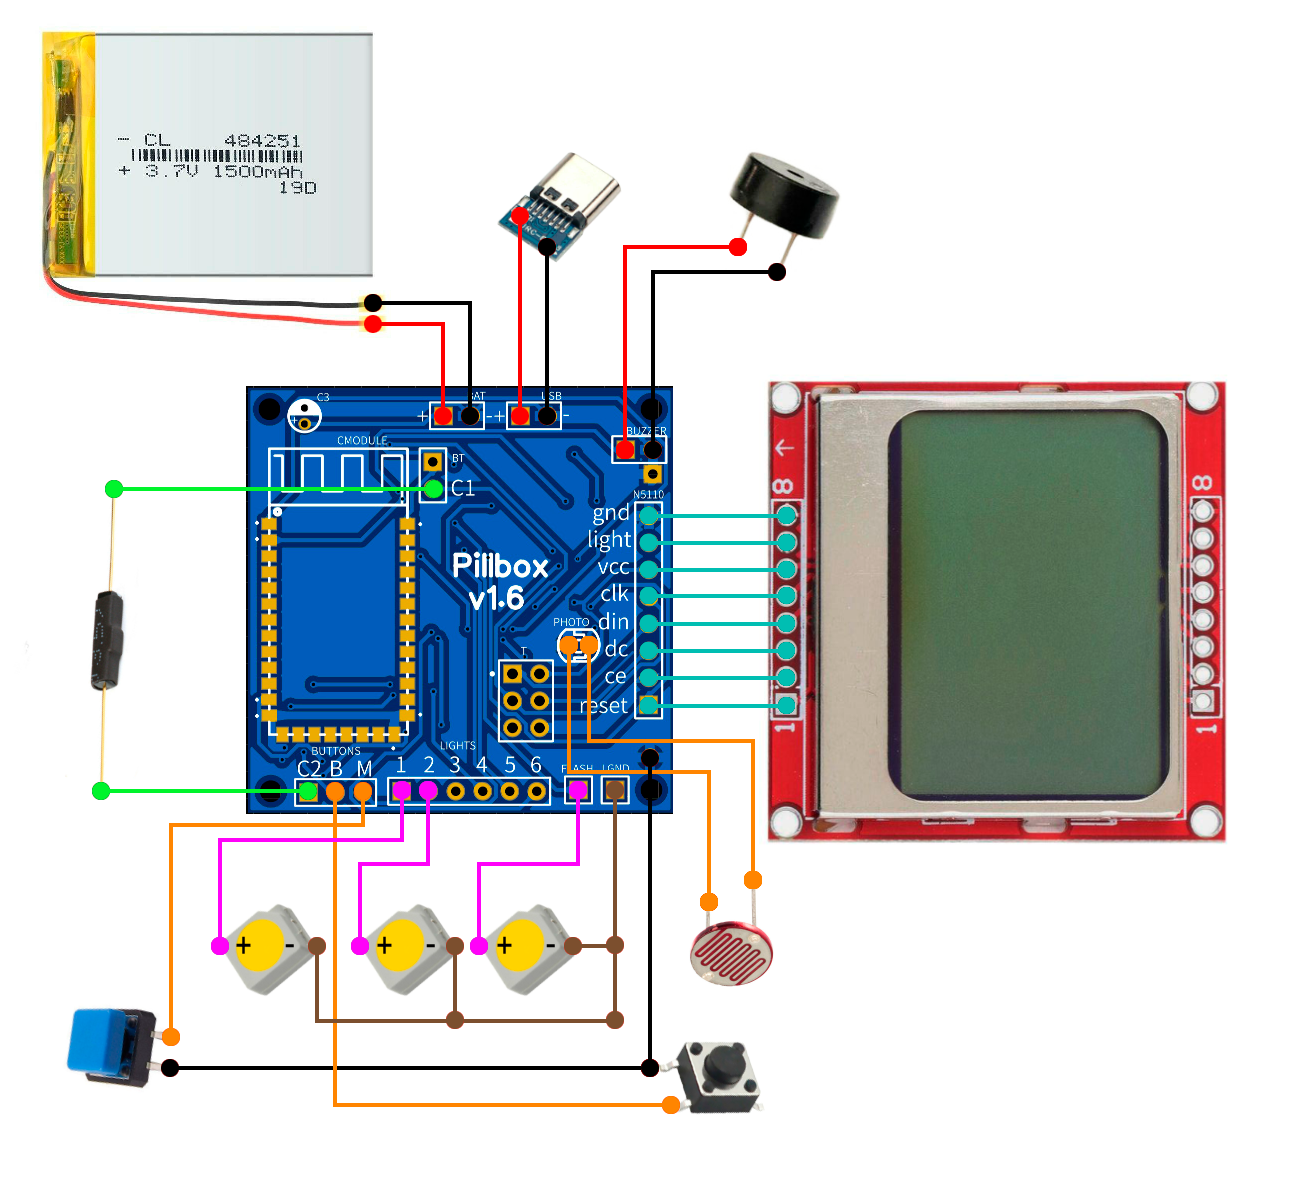
In the project we used LCD display Nokia 5110. This is one of the most popular screens. It usually comes with one of two different types of connector. Pay attention to this! To simplify installation and optimize internal placement, the board can be connected directly to the shield.
For mounting LEDs is required (!) to use LGND ground bed. It has an imbedded current-limiting resistor, which will protect your LEDs from burnout.
The project uses a normally closed (NC) reed switch. It means that when the device is closed, the magnet on the cover opens a reed switch. When the cover is open, the reed switch is closed.
Please note that an industrial active buzzer is used as a speaker. It has advantages and disadvantages. Terminal Industrial Piezo Electronic Alarm Buzzer
The kit does not include a battery due to restrictions on the delivery of batteries to some regions. Our recommendations to use: 1500mAh 503450 3.7V Polymer Lithium Rechargeable Battery Li-ion Battery
The device's board is delivered fully prepared for operation. You need to connect the connectors, a battery and other components correctly and the device will be ready to use. No additional settings and initialization are required.
The board comes with a predefined number of cells, depending on the ordered model. You cannot change the number of slots after purchase. The lighting of the cells is connected to the lights block. Cell number 1 is on the first slot, and so on.
Here, you can find projects files for 3d printer in STL format or you can change any parts of project with STEP files. All materials are free. You can use and change it without any restrictions.
We will appreciate if you share your models with other users.